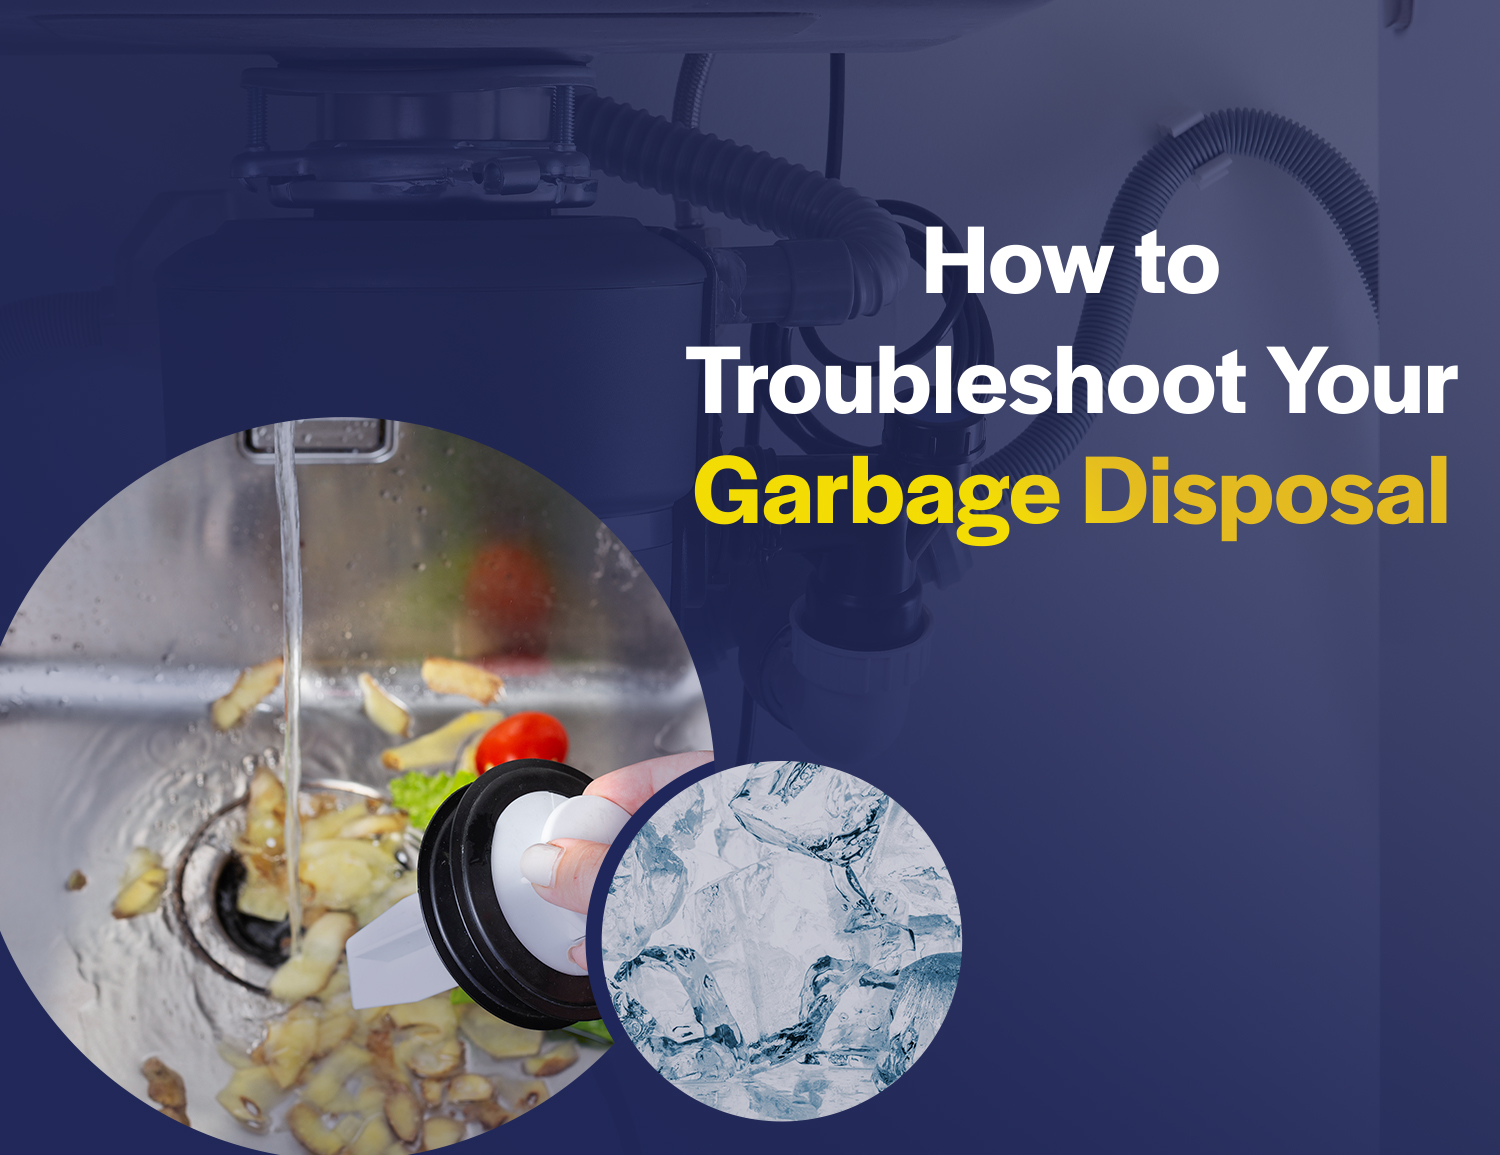
Garbage disposals are a convenient kitchen appliance, helping to dispose of food waste efficiently. However, like any appliance, they can encounter problems. Whether your disposal is not turning on, making strange noises, or not grinding properly, troubleshooting it can often save you the cost and hassle of a professional repair.
Before you start troubleshooting, ensure your safety. Always turn off the power to the garbage disposal at the circuit breaker to prevent accidental activation. Never put your hand inside the disposal unless the power is completely off.
Garbage Disposal Won’t Turn On
If your garbage disposal doesn’t turn on, it might be due to a power issue. Here’s how to troubleshoot:
Check the power supply:
- Ensure the unit is plugged in. This might seem obvious, but sometimes the plug can come loose or be accidentally unplugged.
- Check the reset button. Most disposals have a red reset button located on the bottom or side of the unit. If it has tripped, press it to reset the unit.
- Inspect the circuit breaker. If the reset button doesn’t solve the problem, check your home’s electrical panel. The circuit breaker controlling the disposal may have tripped. If it has, reset it.
Garbage Disposal Hums but Doesn’t Grind
A humming sound typically indicates that the disposal is getting power but the blades are jammed. Here’s how to address this:
Unclogging the jam:
- Turn off the power at the circuit breaker.
- Use an Allen wrench to manually turn the blades. Insert the wrench into the hole at the bottom of the disposal and turn it back and forth. This should free any jammed debris.
- If you don’t have an Allen wrench, use a wooden spoon or a similar tool to try to manually turn the blades from the top (never your hand).
Garbage Disposal Leaks
Leaks can occur in several places: from the sink flange, the hose connecting the dishwasher, or the bottom of the unit.
Identifying and fixing leaks:
- Leak from the sink flange: This could be due to a loose mounting assembly. Tighten the bolts securing the disposal to the sink. If this doesn’t work, you may need to reseal the area with plumber’s putty.
- Leak from the dishwasher hose: Ensure the hose clamp is tight. If the hose itself is damaged, it will need to be replaced.
- Leak from the bottom: This often indicates a seal or the unit itself is faulty. In such cases, you might need to replace the disposal.
Garbage Disposal Drains Slowly
Slow drainage can be caused by clogs in the disposal or the drainpipe.
Clearing the clog:
- Run the disposal: Often, running the disposal with cold water can help clear minor clogs.
- Use a plunger: For more stubborn clogs, use a sink plunger to try to dislodge the blockage. Fill the sink partially with water, place the plunger over the drain, and plunge vigorously.
- Check the P-trap: If the clog persists, you may need to check the P-trap (the curved pipe under your sink). Place a bucket underneath, unscrew the trap, and check for clogs. Clean it out and reassemble it.
Garbage Disposal Makes Unusual Noises
Unusual noises such as grinding, rattling, or squealing usually indicate that a foreign object has fallen into the disposal or parts are loose.
Identifying the source:
- Foreign objects: Shine a flashlight into the disposal to check for any non-food items. If you find any, use pliers or tongs to remove them (never your hands).
- Loose parts: Sometimes, the internal parts of the disposal may come loose. If you’re comfortable, disassemble the unit to check for any loose screws or components. Tighten or replace them as necessary.
Garbage Disposal Emits Foul Odors
Bad odors are usually caused by food particles stuck in the disposal.
Deodorizing the disposal:
- Clean the disposal: Pour a mixture of baking soda and vinegar into the disposal. Let it sit for a few minutes, then rinse with hot water.
- Use ice and salt: Grinding ice cubes with a handful of salt can help dislodge debris and clean the blades.
- Citrus peels: Grinding citrus peels (like lemon or orange) can help freshen up the disposal.
Regular Maintenance Tips
To keep your garbage disposal running smoothly, regular maintenance is essential.
Routine care:
- Run the disposal regularly: Even if you don’t have food waste, running the disposal with cold water can prevent rust and corrosion.
- Avoid certain foods: Avoid putting fibrous foods (like celery), starchy foods (like potato peels), grease, and bones down the disposal as they can cause clogs and damage.
- Flush with cold water: After using the disposal, always run cold water for at least 30 seconds to flush any remaining debris down the drain.
By following these steps, you can often identify and resolve common issues on your own. However, if your disposal continues to malfunction or you encounter a problem beyond your comfort level, it’s wise to consult a professional plumber. Regular maintenance and proper usage can extend the life of your disposal, keeping your kitchen clean and efficient for years to come.


